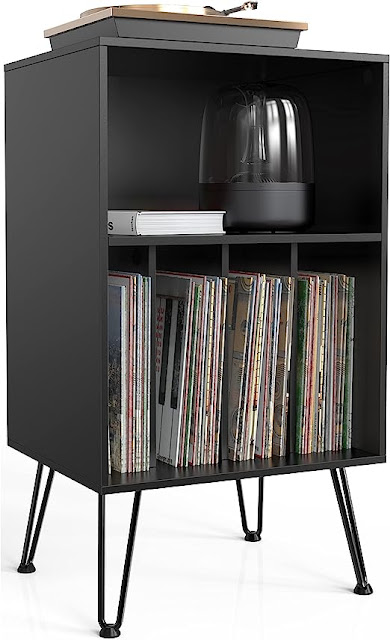
If you're a music enthusiast like me, chances are you have a growing collection of vinyl records. The joy of flipping through your beloved albums, admiring the cover art, and experiencing the rich sound quality is unparalleled. However, as your collection expands, organizing and displaying your records can become quite a challenge. That's where the one sheet vinyl record shelf comes in! In this article, we'll dive into the exciting world of DIY projects and guide you step-by-step on how to create your own stylish and functional vinyl record shelf using just a single sheet of wood. Let's get grooving!
One Sheet Vinyl Record Shelf Project
Why a One Sheet Vinyl Record Shelf?
Before we dive into the construction process, let's understand the benefits of a one sheet vinyl record shelf. First and foremost, it's a cost-effective solution. Using a single sheet of wood allows you to create a compact and space-saving design without breaking the bank. Additionally, it offers a minimalist aesthetic, making it a perfect fit for any room or decor style. Whether you're a seasoned DIY enthusiast or a beginner, this project is a great way to showcase your creativity and add a personal touch to your vinyl collection.
Gathering the Materials and Tools
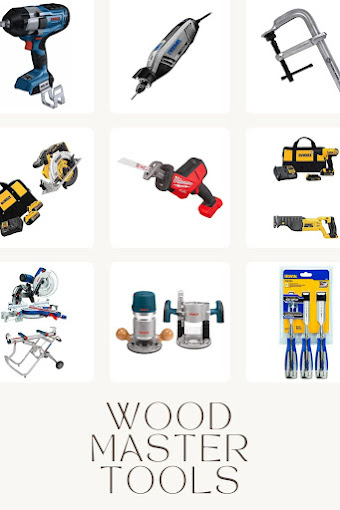
To embark on your vinyl record shelf journey, you'll need a few essential materials and tools. Don't worry; they're readily available and won't require you to scour the ends of the earth. Here's a list to get you started:
- One sheet of sturdy plywood or medium-density fiberboard (MDF)
- Measuring tape
- Circular saw or jigsaw
- Sandpaper (medium and fine grit)
- Wood glue
- Clamps
- Paint or stain (optional)
- Paintbrush or foam roller
- Mounting brackets or hooks
Designing and Cutting the Sheet
Now that you have your materials, it's time to channel your inner architect and design the perfect vinyl record shelf. Measure your record collection and determine the shelf's dimensions and spacing. Once you have your design plan in place, carefully cut the sheet of wood using a circular saw or jigsaw, following your measurements. Take your time, and remember to prioritize safety by wearing appropriate protective gear.
Assembling Your Vinyl Record Shelf
With the pieces cut, it's time to bring your shelf to life! Apply wood glue to the edges of the shelves and carefully join them together, creating the desired structure. Secure the joints using clamps, allowing the glue to dry completely. Once dry, give your shelf a thorough sanding to ensure a smooth finish.
Adding the Finishing Touches
Now comes the fun part - giving your vinyl record shelf a personal touch. If desired, you can paint or stain the wood to match your room's decor or leave it with a natural finish. Use a paintbrush or foam roller for an even application. Once the paint or stain has dried, it's time to attach the mounting brackets or hooks to the back of your shelf, ensuring it's secure and ready to be displayed.
Displaying and Organizing Your Vinyl Records
Now that your one sheet vinyl record shelf is complete, it's time to showcase your cherished collection! Organize your records by genre, artist, or personal preference, making it easier to find that perfect album for any mood. Take pride in displaying your vinyl records in an easily accessible and visually appealing manner, turning your shelf into a mini-museum of musical wonders.
Congratulations! You've successfully embarked on a DIY journey that's both practical and creative. By building your own one sheet vinyl record shelf, you've not only solved the problem of organizing your growing collection but also added a touch of personal flair to your space. Remember, the joy of vinyl goes beyond the music itself; it's about appreciating the art form as a whole. So put on your favorite record, sit back, and revel in the satisfaction of completing a DIY project that will bring you joy for years to come. Happy grooving!


No comments:
Post a Comment