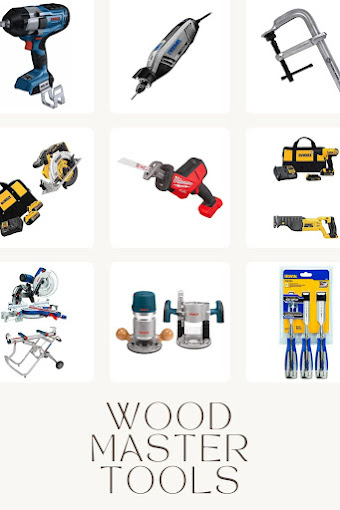
Keys are the gatekeepers to our homes and belongings, but often, we find ourselves misplacing them. Wouldn't it be wonderful to have a designated spot to keep our keys safe and sound? In this engaging blog, we'll explore a delightful and creative solution – carving a key bowl! This simple yet engaging woodworking project will not only keep your keys organized but also showcase your craftsmanship. So, grab your tools, and let's embark on this journey of unlocking creativity!

Choosing the Right Wood
The first step in carving a key bowl is selecting the perfect wood for your project. Opt for a durable and visually appealing wood type like oak, cherry, walnut, or maple. The wood's natural grains and colors will add warmth and character to your key bowl.
Designing Your Key Bowl
Before you start carving, sketch out your key bowl's design. You can go for a classic bowl shape or experiment with unique and artistic designs. Pay attention to the size of the bowl, ensuring it's large enough to hold your keys comfortably.
Preparing the Wood
Once you have your design, it's time to prepare the wood for carving. Cut the wood to the desired size using a saw, and then secure it on a workbench or clamp it in place. Ensure the wood is stable and won't move during the carving process.
Carving Techniques
Carving a key bowl requires some basic woodworking tools and techniques. Chisels and gouges are the primary tools you'll use to shape the bowl. Start by carving out the rough shape of the bowl and then gradually refine it to achieve the desired depth and curvature.
Smoothing and Sanding
After carving the basic shape, it's time to refine and smoothen the surface. Use sandpaper of various grits to achieve a smooth finish. This step is essential for both aesthetics and functionality, as it ensures your keys won't catch on any rough edges.
Adding Personal Touches
A key bowl is an excellent opportunity to add personal touches through carving. Consider engraving your initials, a favorite quote, or a simple pattern that holds meaning for you. These small details will make your key bowl truly unique.
Applying a Protective Finish
To protect your key bowl and enhance the wood's natural beauty, apply a protective finish. Options like varnish, wood oil, or wax will add a lovely sheen and shield the wood from wear and tear.
Showcasing Your Handiwork
Congratulations! Your hand-carved key bowl is now ready to serve as both a practical and artistic addition to your home. Showcase your handiwork in your entryway or hallway, where it will catch the eyes of your guests and become a conversation starter.
Carving a key bowl is not just a woodworking project; it's an expression of creativity and a testament to the joy of working with wood. Your key bowl will not only keep your keys organized but also become a cherished piece that you'll be proud to display. So, unlock your creativity and let your hands shape a beautiful and functional key bowl that brings a touch of artistry to your everyday life. Happy carving!


No comments:
Post a Comment